How to Convert a Bose 901 to hold a Sonos Speaker
Author: tracysigler | Posted: June 29th, 2014 | | Tags: bose 901, sonos play 5, vintage stereo | 2 Comments »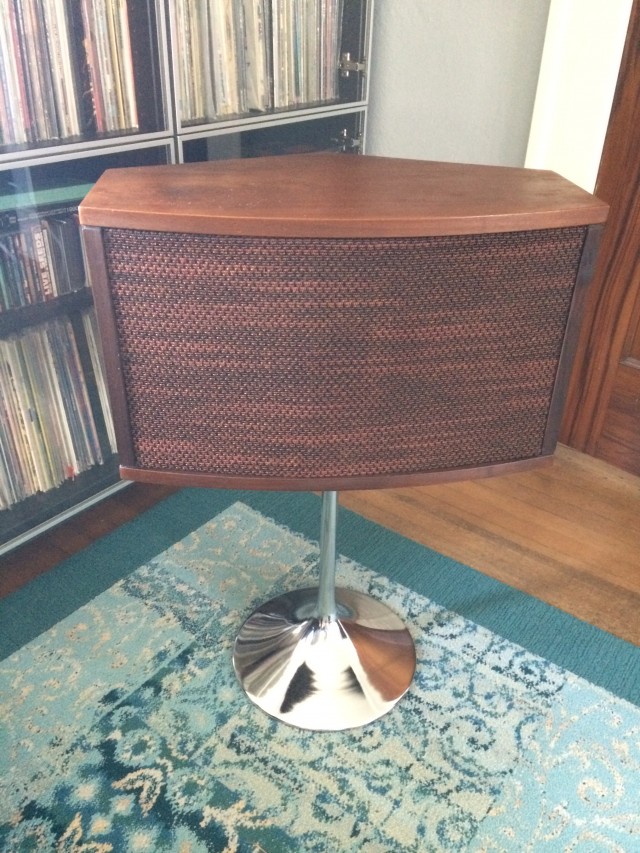
This post is starting with a photo of the finished product. I’ve been lugging around a pair of Bose 901 Series IV speakers I got from a neighbor for more years than I care to admit. The cabinets are solid wood and are in great condition. But this “high tech” for-its-time speaker had problems. The primary one being that it holds nine (!) small speakers and every one, in both cabinets, 18 (!), has a foam “surround” connected to the speaker cone that had decayed over the years. There are kits available to restore these, but I decided to go for a modern upgrade instead. Vintage Bose fans will hate this. Most audiophiles, which I am definitely not, don’t consider these to be great sounding or “accurate” so I had no guilt about cutting them up.
I already had a Sonos Play 5 I and love it. I also love the funky retro-modern look of the Bose 901, especially when paired with a chrome speaker stand. The Bose cabinet is plenty big to hold a Play 5. By putting them together I got the look I want and great Sonos functionality. Plus, no speakers wires necessary! Just plug it in to a close electrical outlet and you’re good to go.
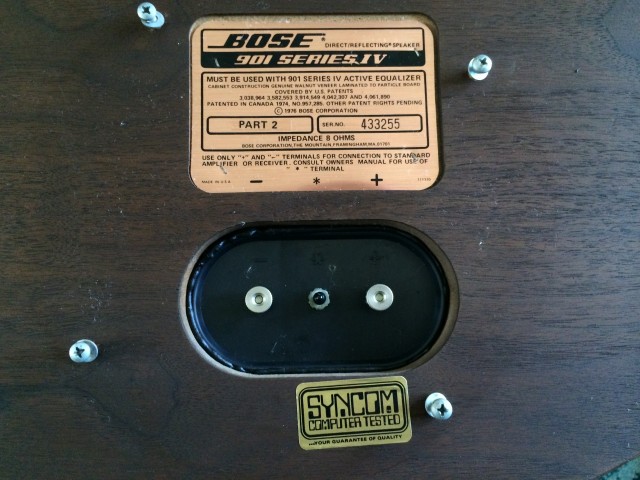
Here’s what I was working with.
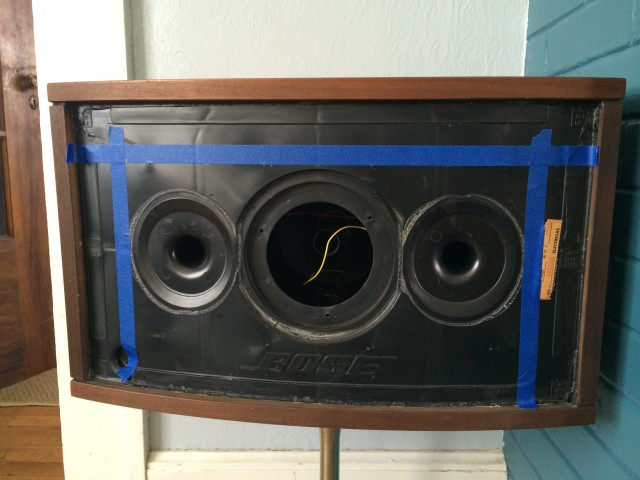
I started by marking off my cut lines. The challenging part of gutting one of these cabinets is that they contain a complex, honeycomb-like web of plastic chambers. So, instead of cutting through a single layer of plastic I had to cut through multiple layers using a variety of tools. I started by plunging a circular saw to get some clean cuts on the front. Then followed up with a recip saw a long blade to get across the guts. I had to leave the borders intact to give the tweed front panel something to hold its shape.
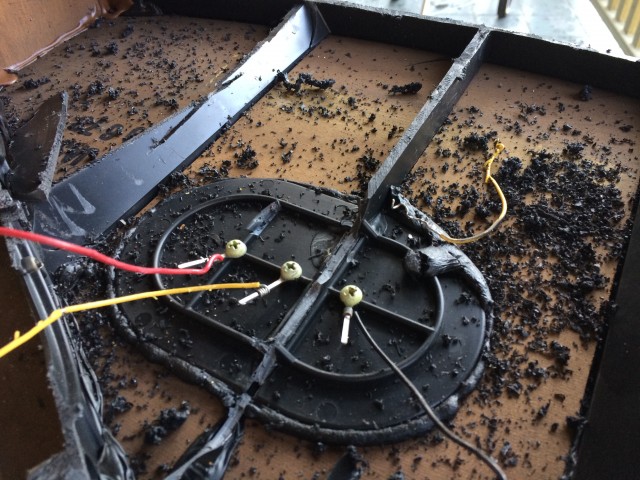
I love the smell of burning plastic in the morning. Smells like… victory! Or at least a gutted Bose 901:
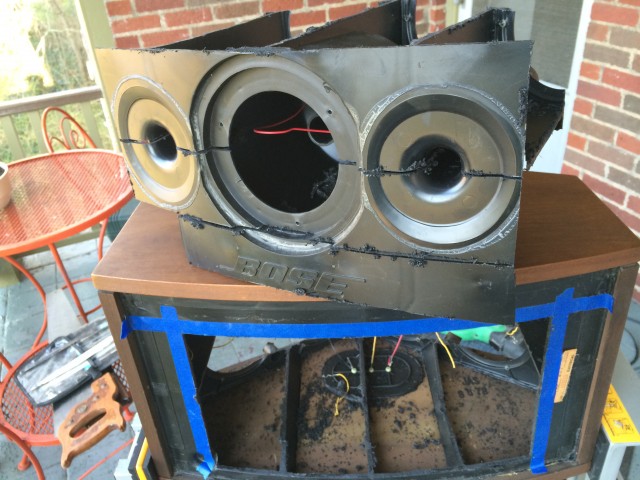
Unfortunately, there’s still more work to do. The plastic webs are mortised into the wood and glued with a mastic. Quality assembly! No wonder they were expensive. I had to chisel out the bottom pieces so the Sonos speaker would have a nice flat resting place.
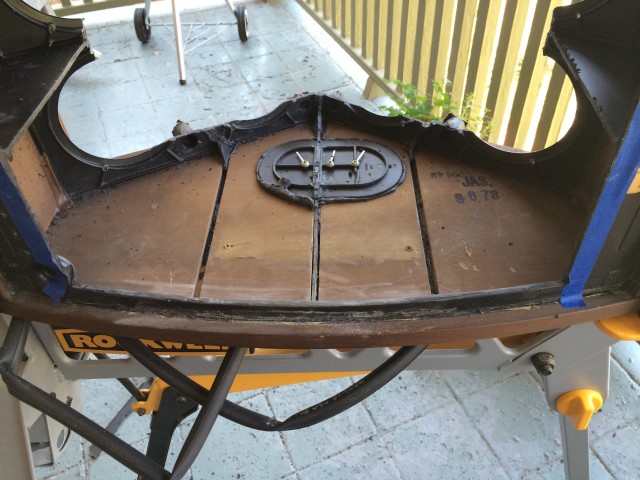
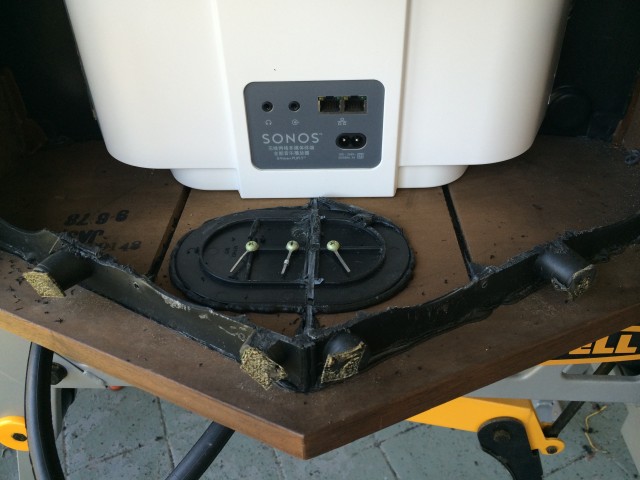
Almost ready to rock. Luckily the Sonos is not that deep so I didn’t have to remove to oval electrical port, which was seriously glued down.
And the Sonos Play 5 fits with room to spare.
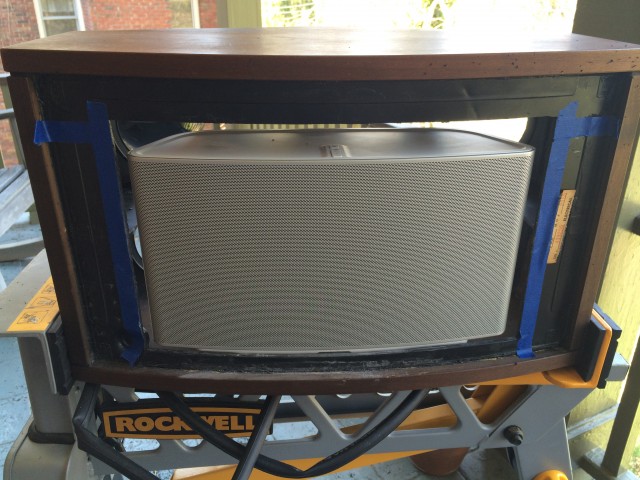
The curvature of the Sonos is a perfect match for the front of the Bose cabinet.
As you can see from this view of the back there is plenty room to work with.
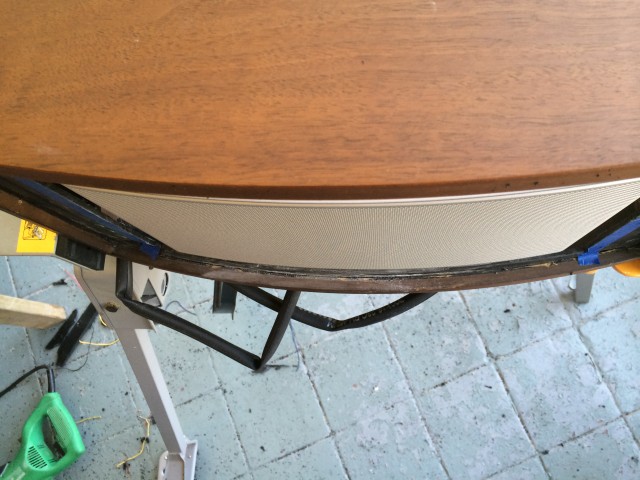
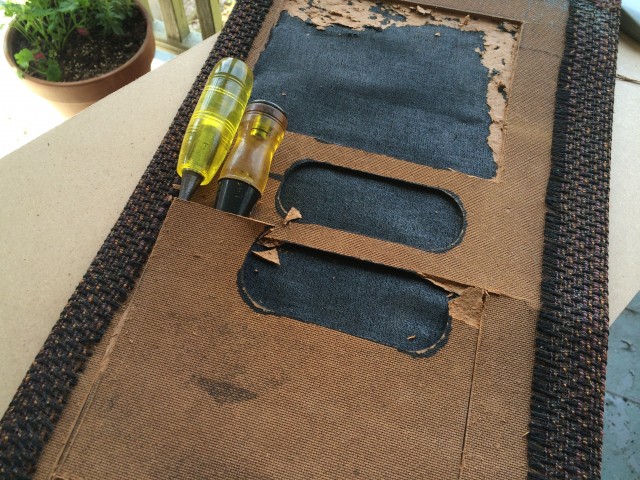
This next part was the least fun. The Bose 901 was designed with eight speakers pointing rearward and only one pointing forward. That meant the tweed front cover was a mostly solid piece of masonite. That wouldn’t do.
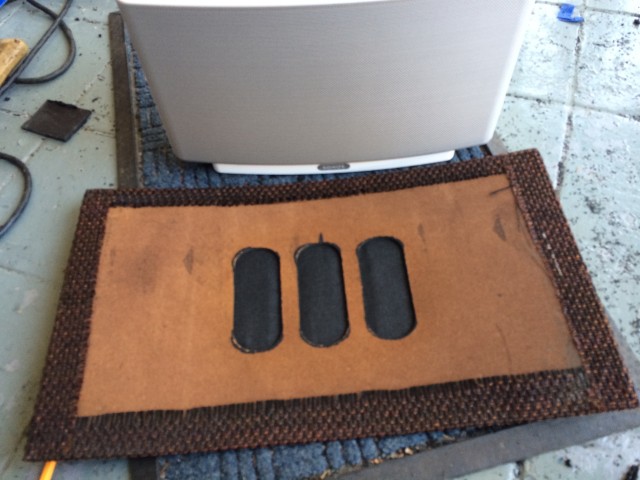
Obviously, I needed to make an opening roughly the size of Play 5. I used a utility knife to score two large squares and left some material in the middle to support the tweed fabric. Then I got under it with some chisels and carefully separated the masonite from the fabric. Yes, it was glued together. Tedious.
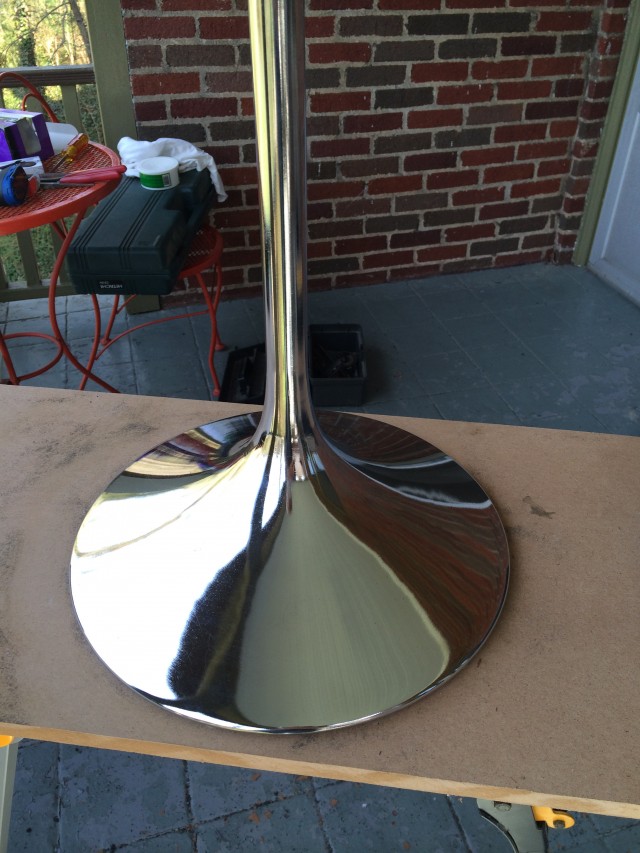
Next up was the chrome pedestal. It had a lot of superficial rust but fortunately no deep pitting.
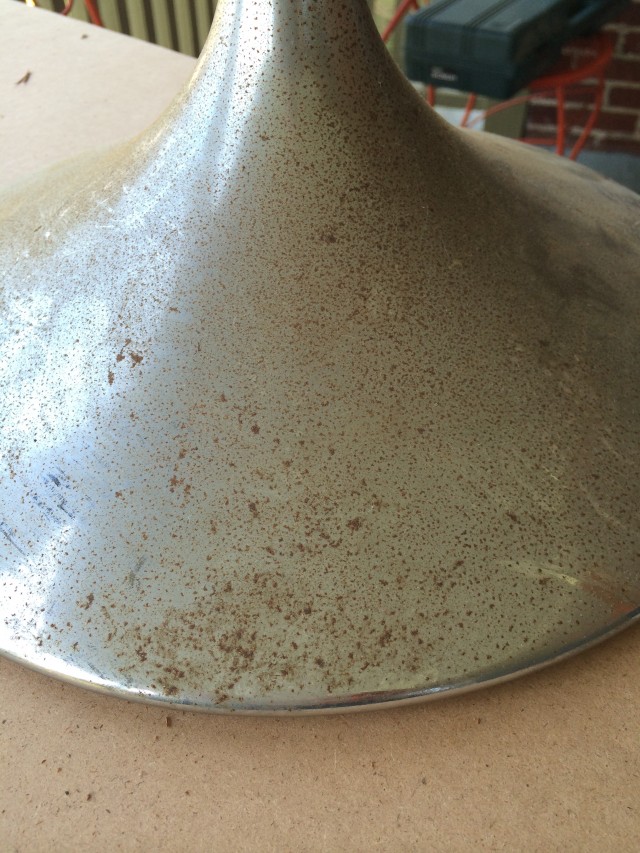
I just used some super fine steel wool and a lot of elbow grease. It turned out well, but I may go back and more fully polish them when I do the second one.
You can see from this rear view that there is a very convenient hole for Sonos power cord. The outer holes had these cool plastic torpedo shapes protruding slightly. I wanted to preserve those but they were an integral part of the inner honeycomb structure. I decided it wasn’t worth extra effort.

It’s a pretty straightforward project. I’ve left out a couple steps, like locating the almost invisible staples attaching the front cover, but I’m sure you can figure out how to do this if you’re so inclined. One down, one to go…
Behold the solid wood Sonos!

Tracy,Wow that looks really nice.
Thanks Rick!